If you are not a developer and don’t know how to display the custom fields at the front
end then this section is for you.
We will explain three ways to display the custom fields at the front end:
- Using FMS Views Builder Add-on.
- Inside the static page.
- Inside a theme template.
1.Using FMS Views Builder Add-on:
FMS Views Builder Add-on is a free FMS add-on allows you to display the custom
fields at the frontend with the easiest way possible. You can download it from
here.
Some of FMS Views Builder add-on features:
- Unlimited views, you can create as many views as you want, but each form
should have only one view. - Displaying the custom fields at the frontend and control which field will be
displayed and change the field order and put a new label for the field. - Restrict the custom fields section access with a message for: logged in users
only, or chose the role(s) that you want to allow them to access the custom
fields section. - Add a wrapper class to styles the custom fields as you want.
- You can disable the default style.
- You can put a label for the custom fields section.
Note: The FMS Views Builder add-on only display the FMS’s custom fields.
2.Inside the static page:
To display the custom fields inside a static page in our example go to your
dashboard and create new page and put in it this shortcode [fms_views then click on Publish.
form_id="4" post_id="57"]
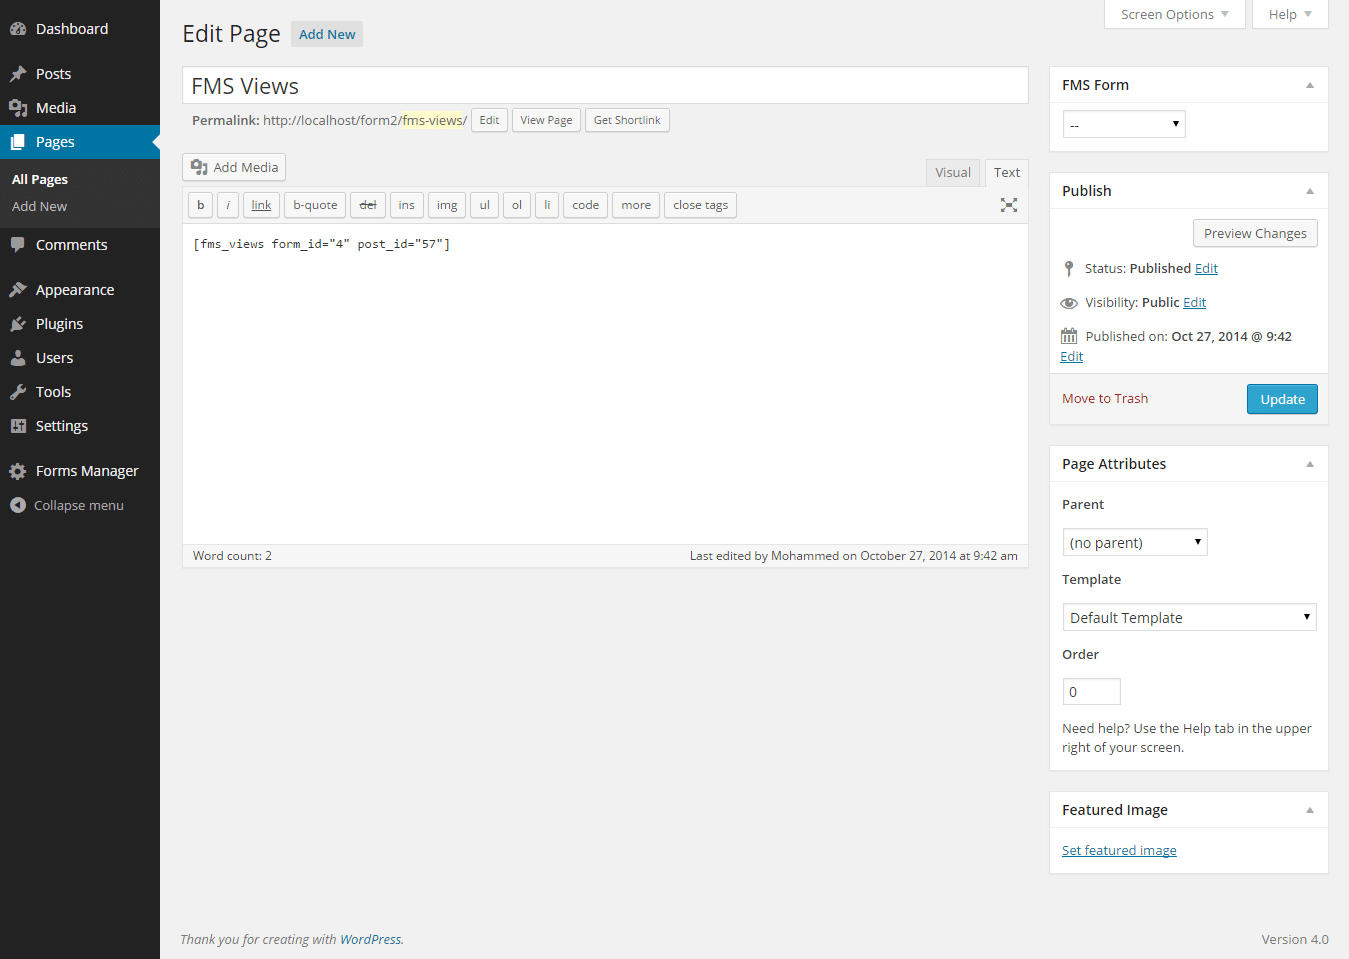
You must change the post_id and the form_id according to your ids. This page
now display all the custom fields of the post that have the id equals to 57 and
created by the form that have the id equals to 4.
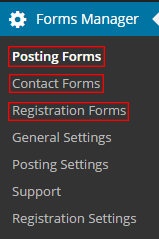
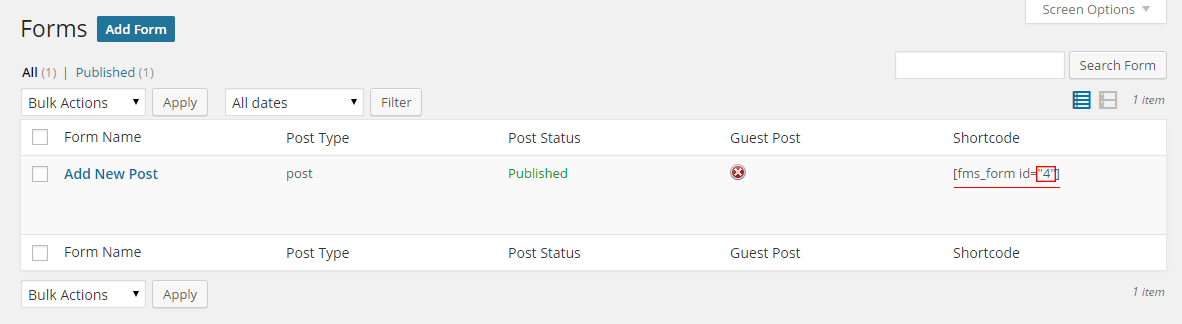
You can get the form id by clicking on the Posting Forms, Contact Forms and
Registration Forms.
You can find the form id here:
And you can get the post id by going to the Posts then hover your mouse over
the post title of the post that you want its id then you can find it at the left
bottom corner.
![]()
[fms_views]Shortcode Options:
Option
Example
Description
get
get =”meta_key”
To get a specific field you can use get
=”meta_key” or to get all fields either
remove the get option or use get =”all”
post_id
post_id =”57″
To get the fields of a specific post use post_id
=”57″ where the 57 is the post id. If you use
the shortcode inside your theme templates
like single.php you can remove this option
and let the FMS handles that for you.
tag
tag=”h3″
To specify the field tag.
id
id=”field_id”
To specify the id of the field.
class
class =”field_class”
To specify the class of the field.
form_id
form_id=”4″
To specify the form id that the post created
by it. If you use the shortcode inside your
theme templates like single.php you can
remove this option and let the FMS handles
that for you.
3.Inside theme template.
We will now display the custom fields beneath the post type so go to your
themes folder then inside your active theme or child theme open single.php file
in your text editor and put the following line in the place that you want the
custom fields to appear:
<?php echo do_shortcode('[fms_views]'); ?>
*Replace the [fms_views] by any shortcode you built and put the previous line in
any single post template of any post type. Also notice that we removed the
post_id and form_id options because our posts created by FMS and we want
FMS handles everything instead of us.
*You can use <?php echo do_shortcode('[fms_views]'); ?> in any template file of
your theme but sometimes you need to specify the form_id or the post_id or
both.
In our example we used Twenty Twelve theme and we placed the previous line
just before this line <?php comments_template( '', true ); ?> to display the
custom fields below the post and above the comment form.
[fms_views_wrap]...[/fms_views_wrap] Shortcode
If you need to wrap your fields in a div something else you can use
[fms_views_wrap]...[/fms_views_wrap] shortcode to do that.
Examples:
Example1:
[fms_views_wrap id="fms-group"]

[fms_views get ="meta_key1" form_id="4" post_id="57"]

[fms_views get ="meta_key2" form_id="4" post_id="57"]

[fms_views get ="meta_key3" form_id="4" post_id="57"]

[/fms_views_wrap]
Example2:
[fms_views_wrap id="fms-group"]

Some text here if you want

[fms_views get ="all" form_id="4" post_id="57"]

[/fms_views_wrap]
Example3:
[fms_views_wrap id="fms-group"]

[fms_views get ="all" form_id="4" post_id="57"]

[/fms_views_wrap]

Field label here if you want

[fms_views get ="meta_key" form_id="70" post_id="106"]
The previous fields will be wrapped in a div tag with the id=”fms-group”
[fms_views_wrap] ...[/fms_views_wrap]Shortcode Options:
Option
Example
Description
tag
tag=”span”
To specify the tag that you
will use it to wrap the
fields. The default tag is
the div tag.
id
id=”wrap_id”
The wrapper id.
class
class=”wrap_class”
The wrapper class.
for_logged_in_user
for_logged_in_user=”yes”
To make the fields
available for logged in
users only use
for_logged_in_user=”yes”
If you remove this option
or use anything instead of
yes the fields will be
available for all users.
Notice: You can use this <?php echo do_shortcode('[fms_views]'); ?> function
also here for example:
<?php echo do_shortcode('[fms_views_wrap id="fms-group"]

Some text here if you want

[fms_views get="all" form_id="4" post_id="57"]

[/fms_views_wrap]'); ?>